
Pardot Lightning Email Builder

Pardot is one of the leading B2B marketing automation platforms available, but one (rather significant) area that has always been missing is the ability to easily create drag and drop email templates from inside the system.
Well, we’re pleased to announce that the Pardot Lightning Email Builder is now live and ready to go. So, let’s get started!
Enabling the Pardot Lightning Email Builder
The Pardot Email Builder is available for all editions of Pardot, however, in order to use it, there are some steps that need to be completed.
Let’s go through this together;
Step 1
Click on the gear icon (1) and select Setup (2).

Step 2)
Using the search function (1), type ‘Lightning’ and select Lightning Email Templates (2). If the toggle switch (3) is set to off, enable it.

Step 3)
We now need to go into the Marketing Setup menu, so go back to the gear icon (1) and select Marketing Setup (2).

Step 4)
Using the search box, type ‘Content’ (1) and select Content Setup (2).

Step 5)
At this stage we need to ensure that the Prerequisites* have been enabled.

* Please note that if your Pardot account was created on, or after 12th July 2020, HML and Connected Salesforce and Pardot Campaigns will have been enabled by default.
**Salesforce CMS (Content Management System) is not a standard feature of Pardot. Please speak to your Salesforce Account Executive about purchasing this addon. Should you not have CMS available, instead of referencing the asset as a file, you will need to copy the URL of the asset stored within Pardot and use this to reference the asset when building the template(s). For further information about this, please scroll to the bottom of this article.
Step 6)
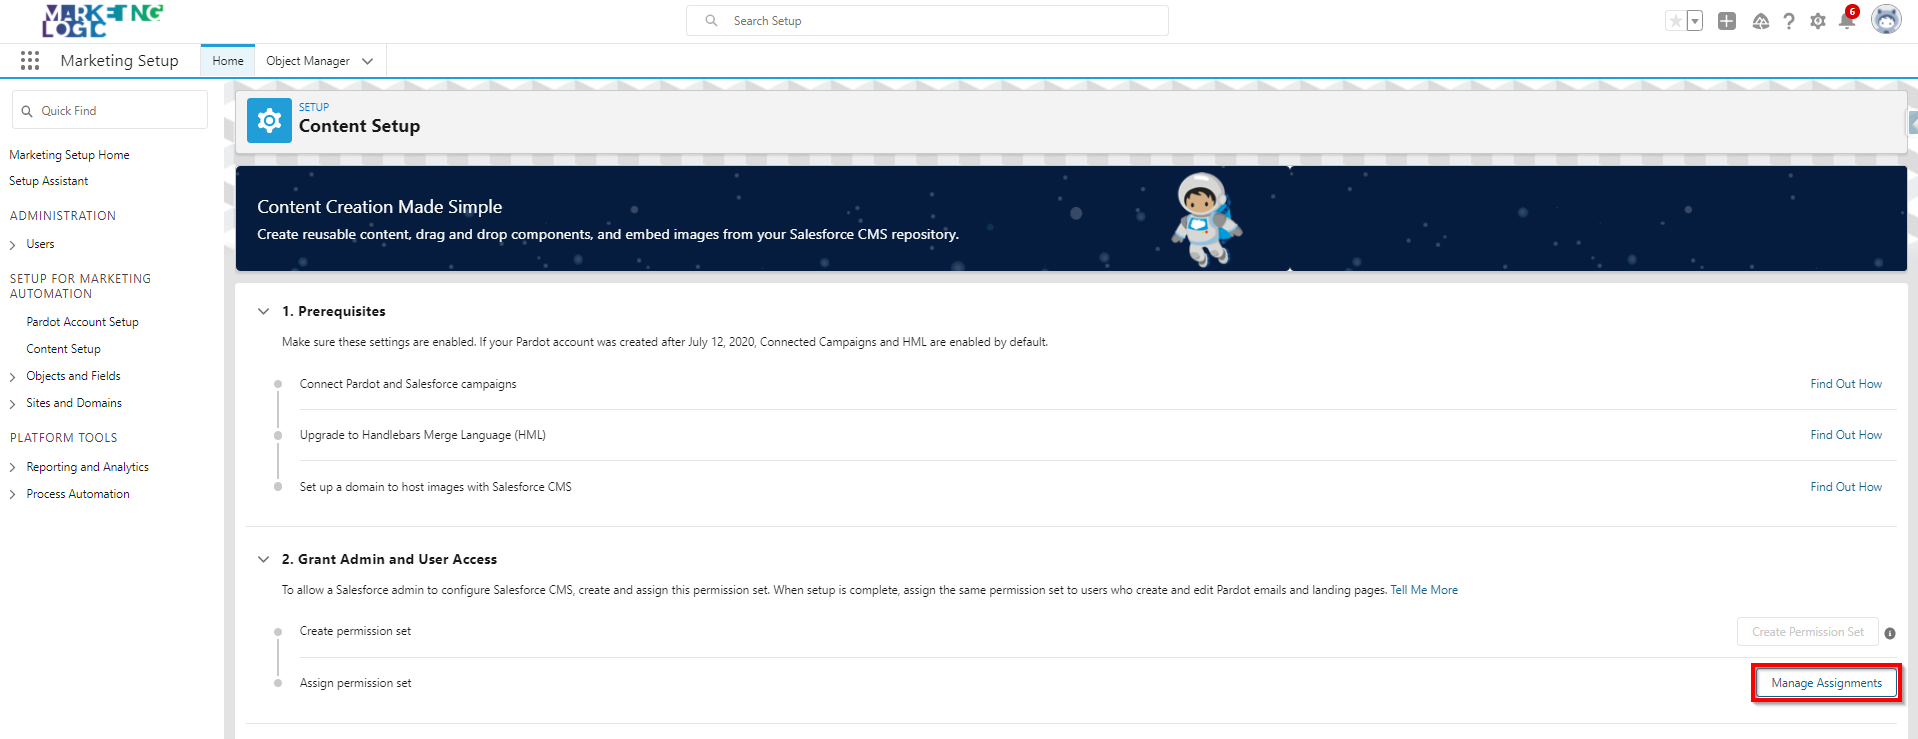
Staying in Content Setup, under ‘Grant Admin and User Access’, click on Create Permission Set (1).

The system will automatically create this permission set (it may take a minute or two). Once the permission set has been created this button will be greyed out, and Manage Assignment will become available for selection.
Step 7)
So now Manage Assignments has become available, click it to take you through to the screen below.
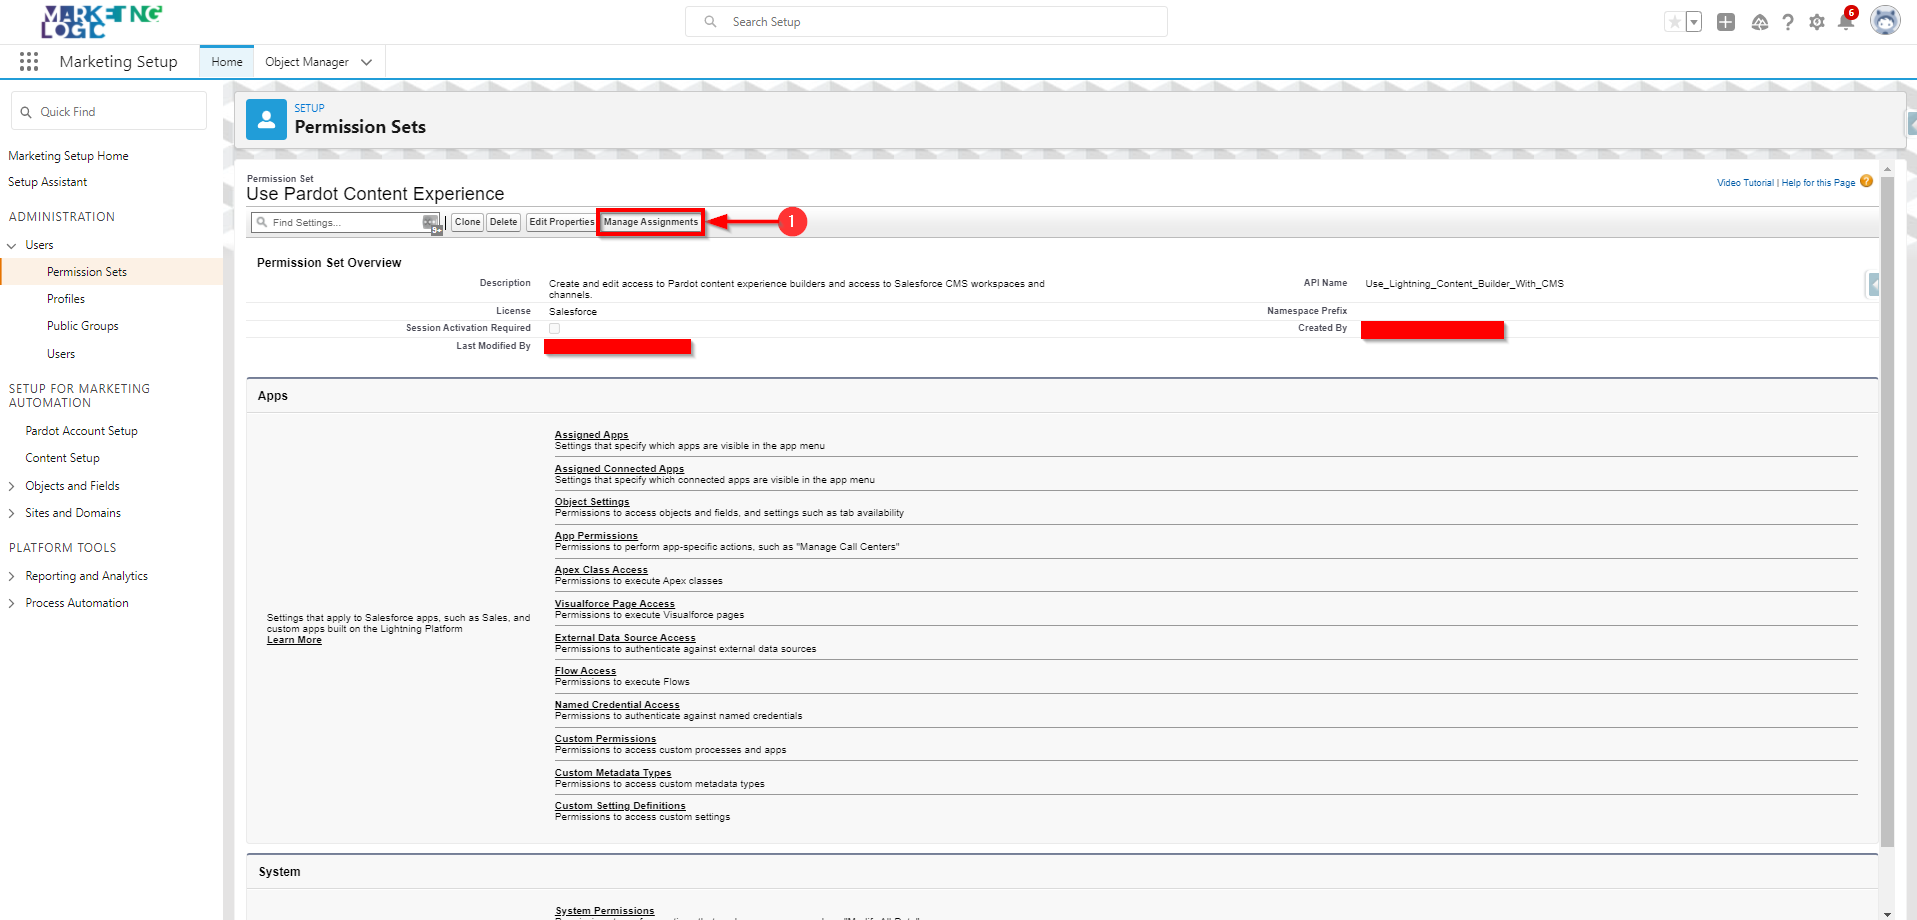
Click ‘Manage Assignments’ (1) and you will be taken to this screen, where you then need to click ‘Add Assignments’.
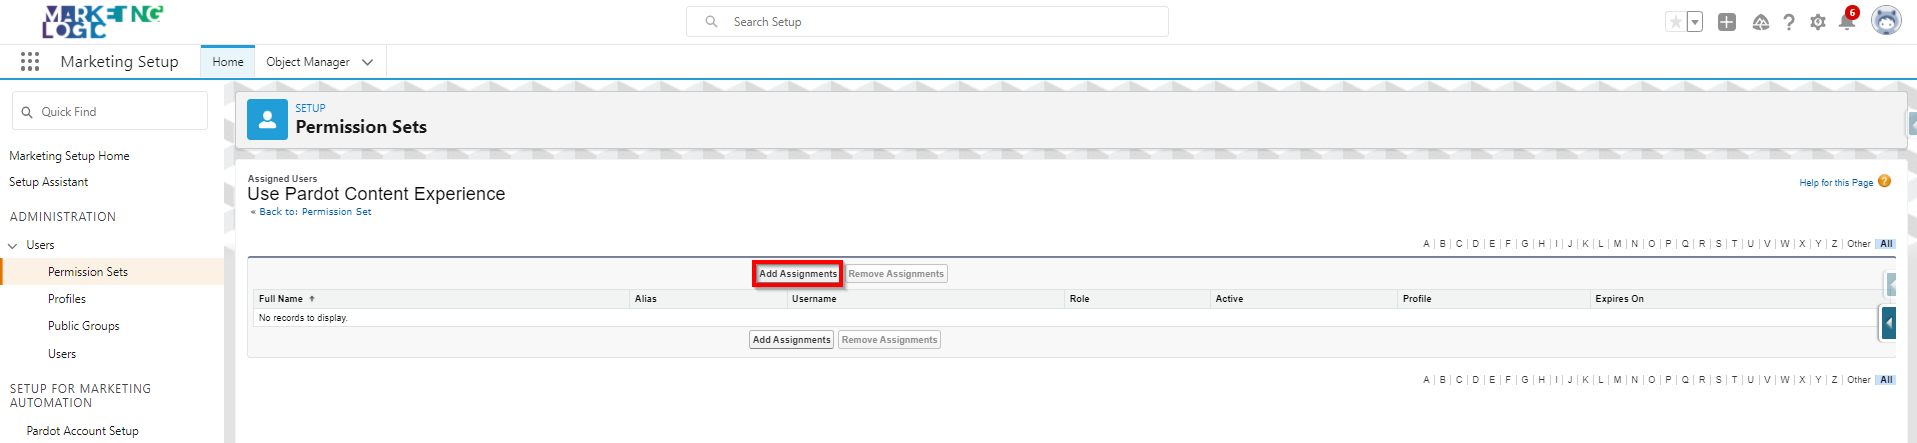
At which stage you will be directed to the ‘Permission Sets’ screen.
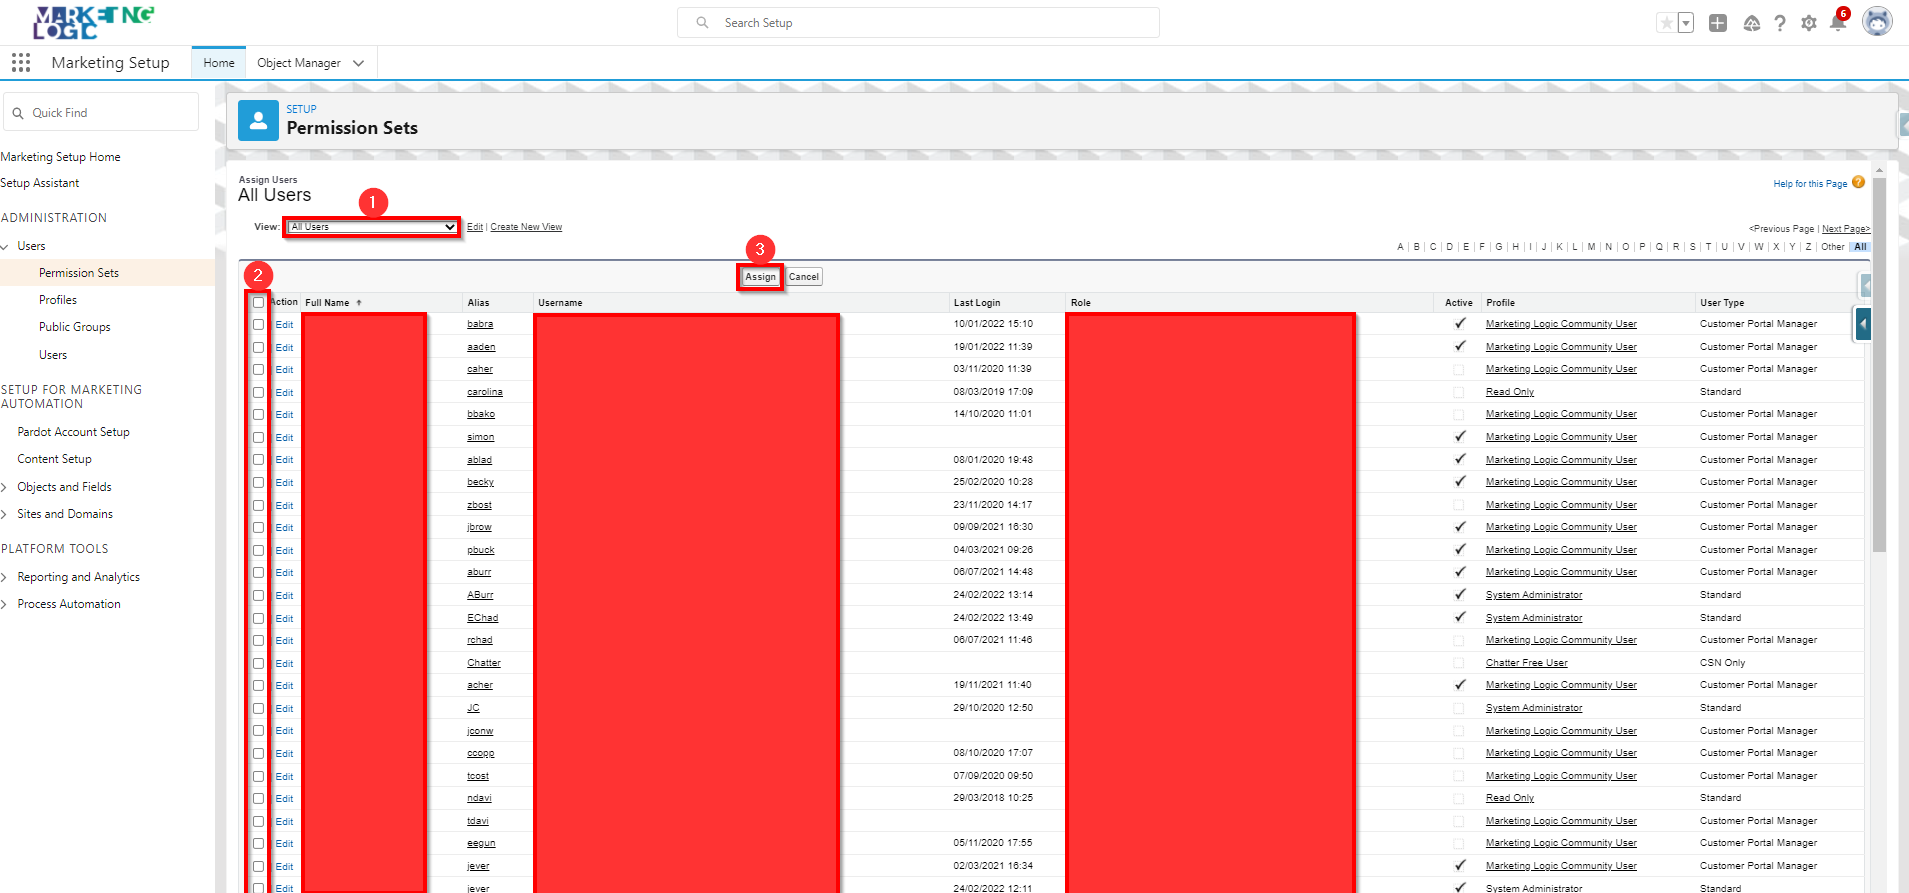
This will populate a list of all users within the Org, which you can then filter using the dropdown box (1) to show only Active Users, Admin Users etc.
To select which users to grant this permission set to, click the appropriate checkbox (2) to the left of the users’ name and then make sure to select ‘Assign’ (3).
Step 8)
Once the above steps have been completed, head back to Pardot and check that you have ‘Email Templates’ and ‘Email Content’ tabs. If not, below are the steps to do so.
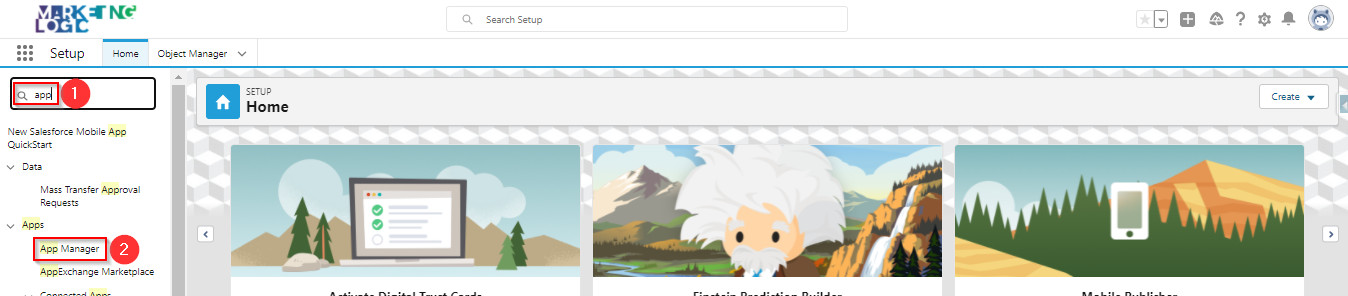
From the gear icon (1) select Setup (2).

Using the search function, type App (1) and select ‘App Manager’ (2).
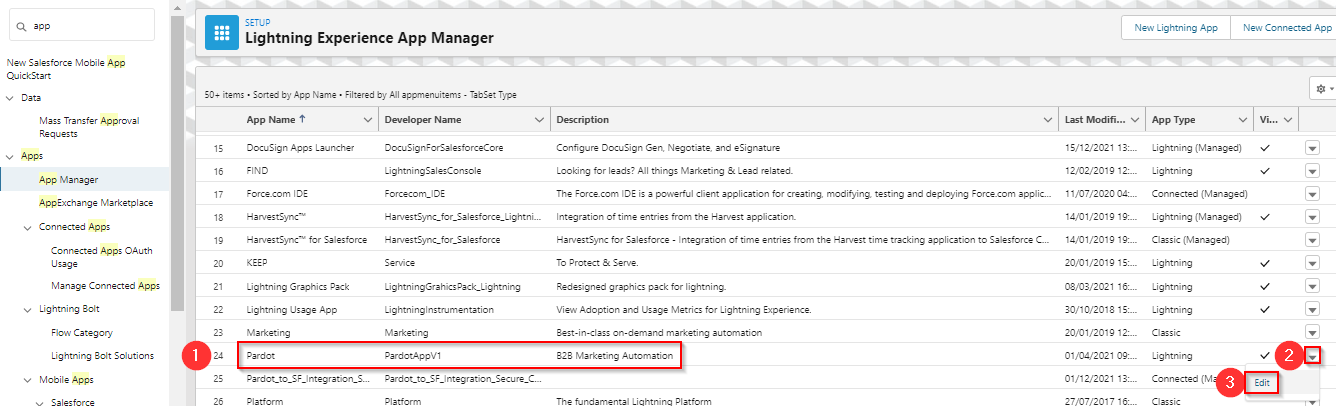
Scroll down until you see Pardot (App Name) with a description of ‘B2BMA Marketing Automation’, and then from the right drop-down menu (2) select Edit (3).
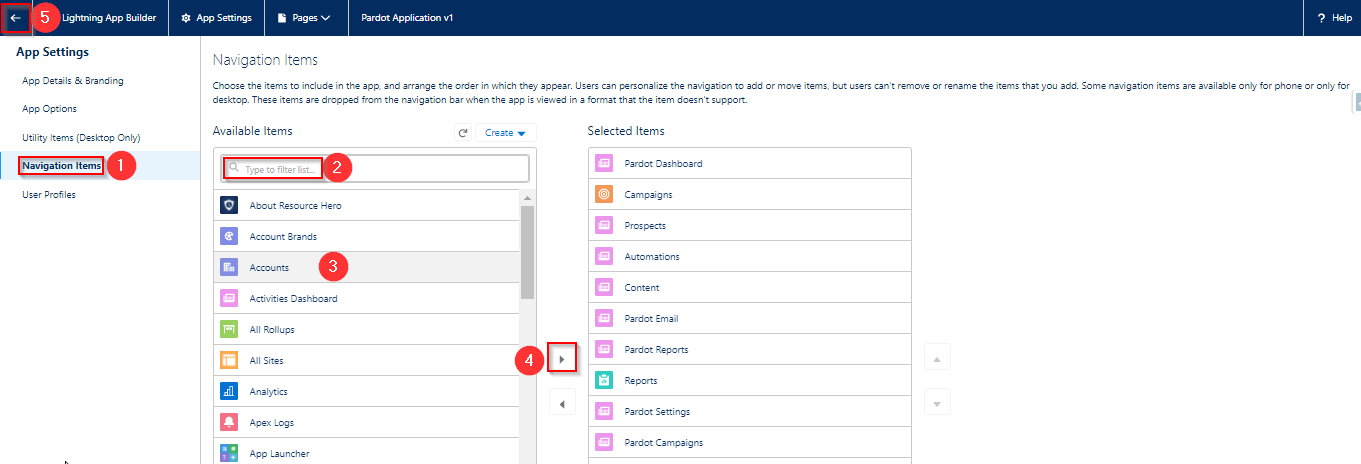
From the next screen select ‘Navigation Items’ (1) and using the search option (2), search for Email Content and Email Templates. Once these have been found, click on them accordingly and using the arrow (4) add them to the existing list of items.
After these have been added, make sure to click Save at the bottom of the screen. You can then click the arrow (5) to go back. These two tabs will now appear on the Pardot home screen.
Step 9)
From the main Pardot screen (you may need to refresh), select ‘Email Templates’ from the Navigation Menu (1) and then select ‘New Email Template’ (2).

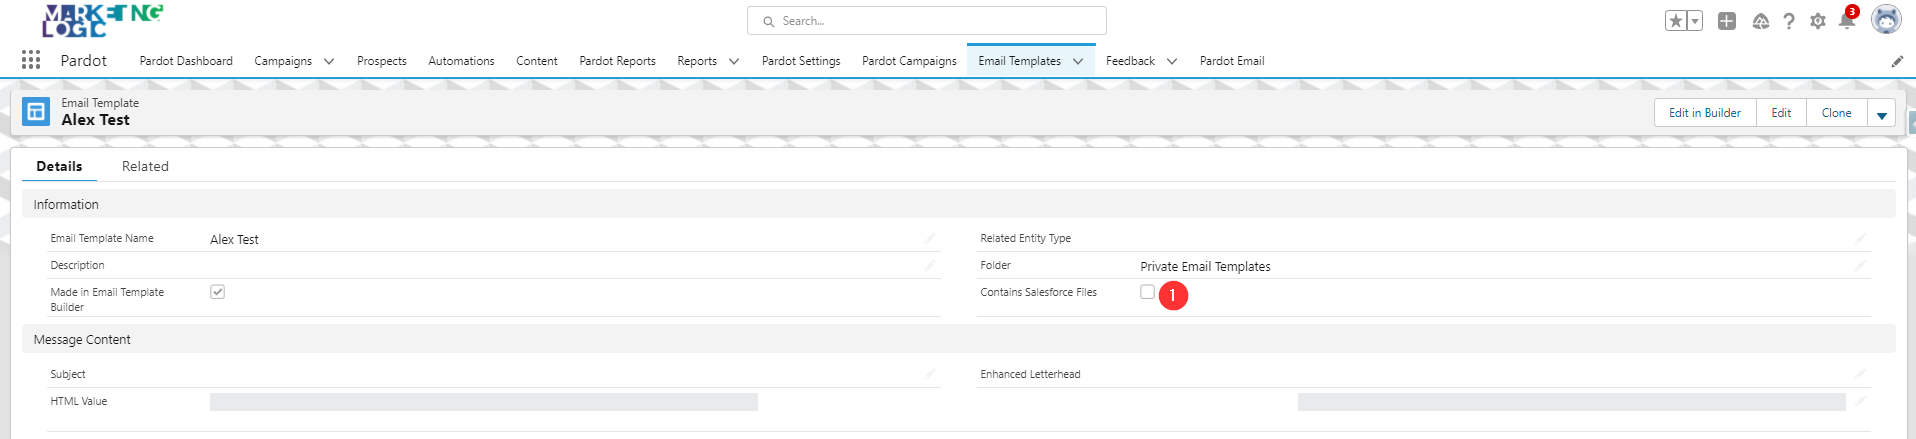
Name and save your email template accordingly, and you will then be taken to a page that looks like this;
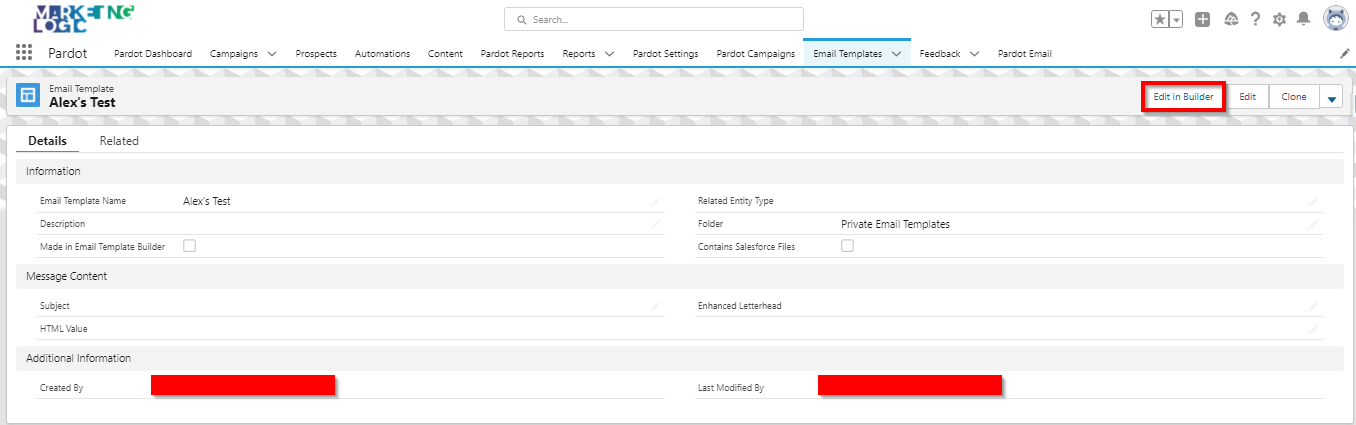
And there you are! You can see those wonderful words ‘Edit in Builder’ located in the top right of the screen.
Important Note **Pardot Users Without CMS**
For Pardot accounts without CMS (Content Management System).
It’s important to note that if you don’t have CMS and the ‘Contains Salesforce Files’ (1) box is ticked, you will be unable to use the email template.
If you’re experiencing this issue, you will need to use the URL to reference the assets instead of the file location – please see below (1).
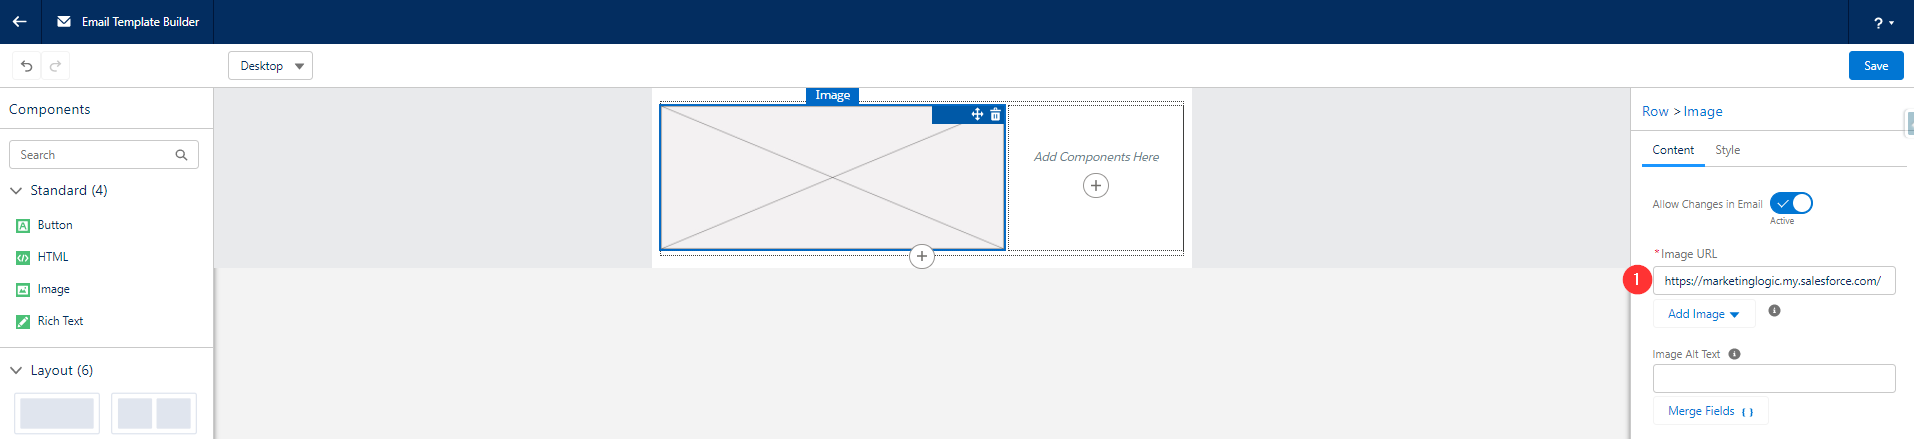
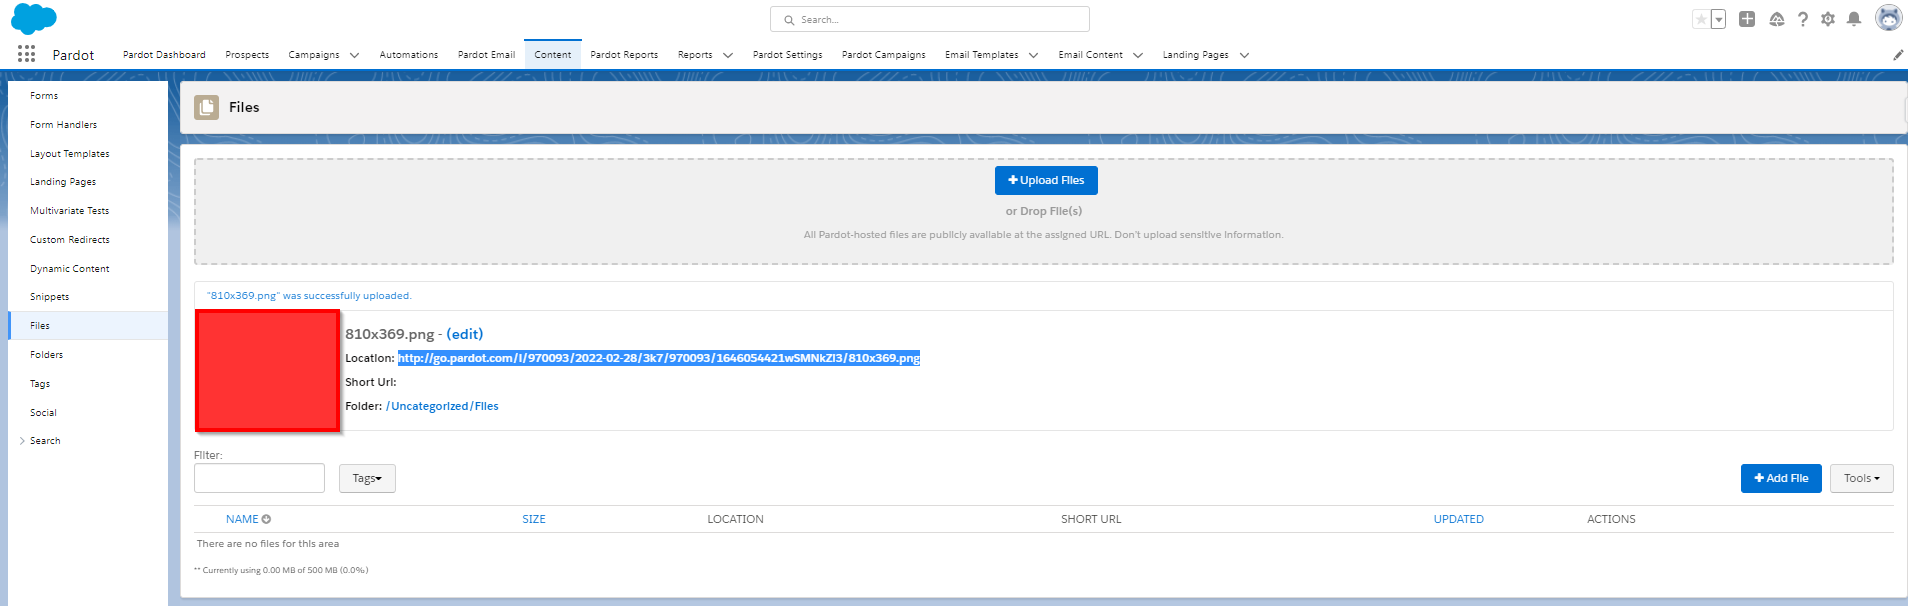
To do this, upon importing your files, you will see each asset has its’ own URL. Copy this link and paste it in the ‘Image URL’ field, as shown in the image above (1).
To conclude, please remember about the CMS and using the file URL link instead of the file location. There are some other limitations to consider, which we will be covering in future articles, so please make sure to check back soon for these.
Otherwise, congratulations, you are now ready to go off and build yourself some awesome email templates!
If you would like further assistance, please feel free to contact our office on 0208 106 8500.
We hope you enjoyed this article and found the information to be beneficial. If you would like to read more of our articles, then please click here.


Jaidi
Nice, we see how to create an email using email builder, But how can i send it as an email list ?